


How Do You Apply a Name Set Onto a Football Shirt?
Learn how to professionally apply name sets to football shirts for perfect, long-lasting results.

Written by
Stefan Haas


Maybe you’ve had difficulties applying name sets to football shirts, or you’re just getting started with heat pressing your own kits. Applying a name set might seem simple, but to do it professionally, like the players wear on the pitch, requires care, precision, and the right materials.
In this guide, we’ll walk you through all the essential steps and share key tips to help you achieve perfect results every time, whether you’re personalizing shirts for yourself, friends, or customers.
What You Need to Apply a Name Set
If you want to apply a name set to a football shirt correctly — whether for personal use, resale, or professional presentation — here’s what you need:
Professional heat press — not a household iron
Baking paper — to protect both the shirt and name set
High-quality name set — we recommend plastisol with a blocker layer
Measuring tape or alignment tool — to ensure perfect placement
Official application guidelines from name set manufacturers when possible
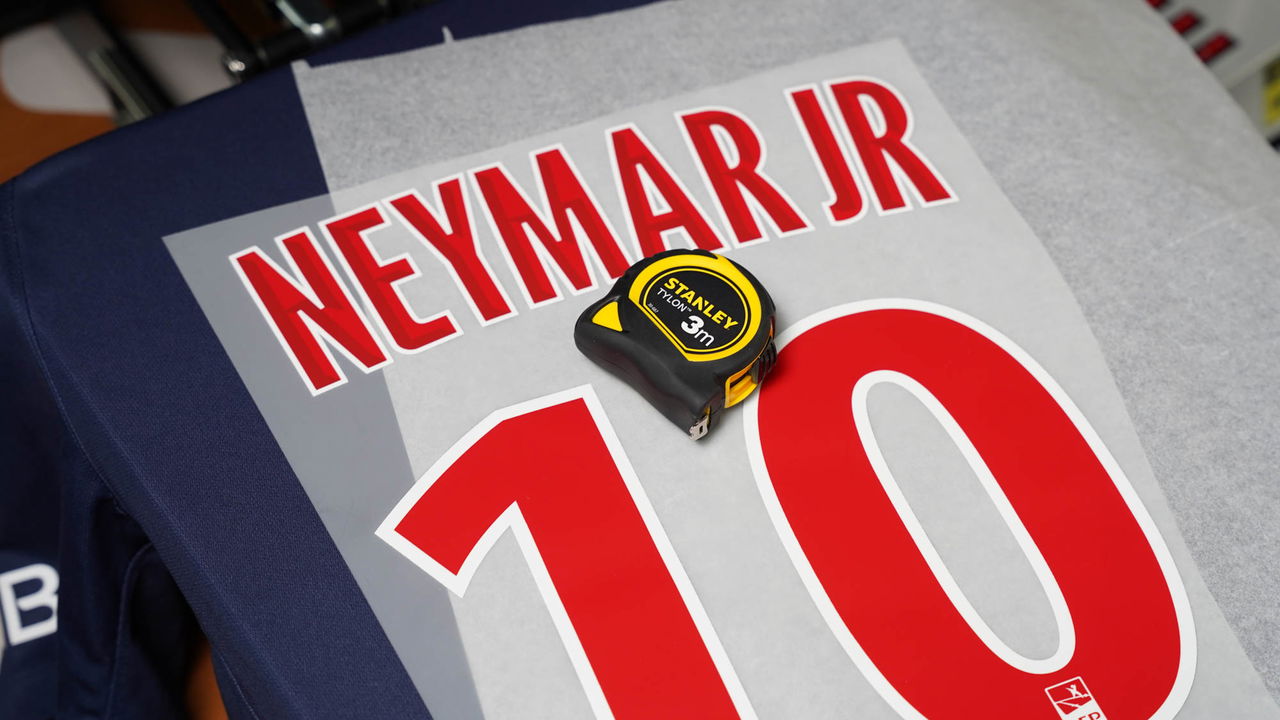
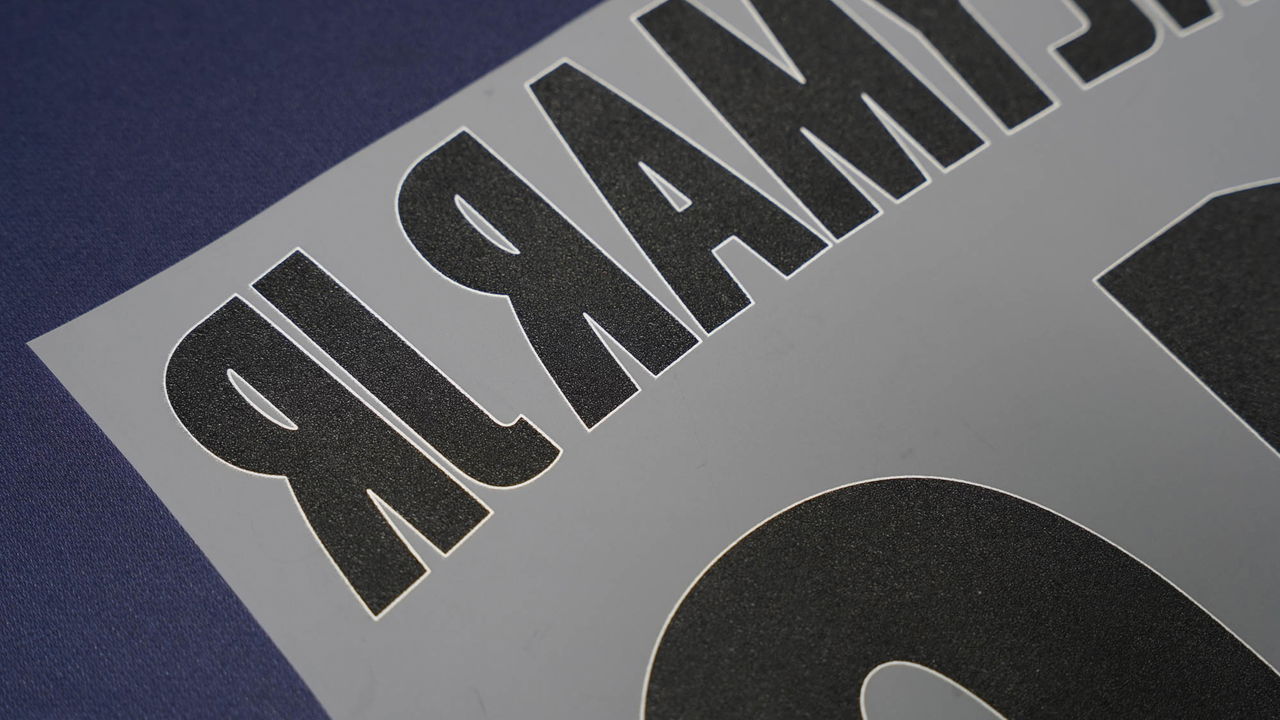
Plastisol Neymar Jr #10 Nameset for the PSG 2018/19 Home Shirt.
Step 1: Use a Professional Heat Press
For consistent heat and pressure, a professional heat press is essential. Household irons or handheld heat tools won’t deliver the even, reliable performance needed for applying name sets.
We strongly recommend placing baking paper between the heat press plate and the shirt. This does two things:
Protects the name set from direct heat damage.
Protects the shirt from potential dirt or residue left on the press from previous use.
Step 2: Choose the Right Name Set
Not all name sets are created equal. People often use materials like:
DTF (Direct to Film)
Cut-out vinyl
Plastisol — our recommendation for the best result
We recommend plastisol name sets because they:
Mimic official club-issued name sets
Are durable and flexible
Deliver a professional look and feel
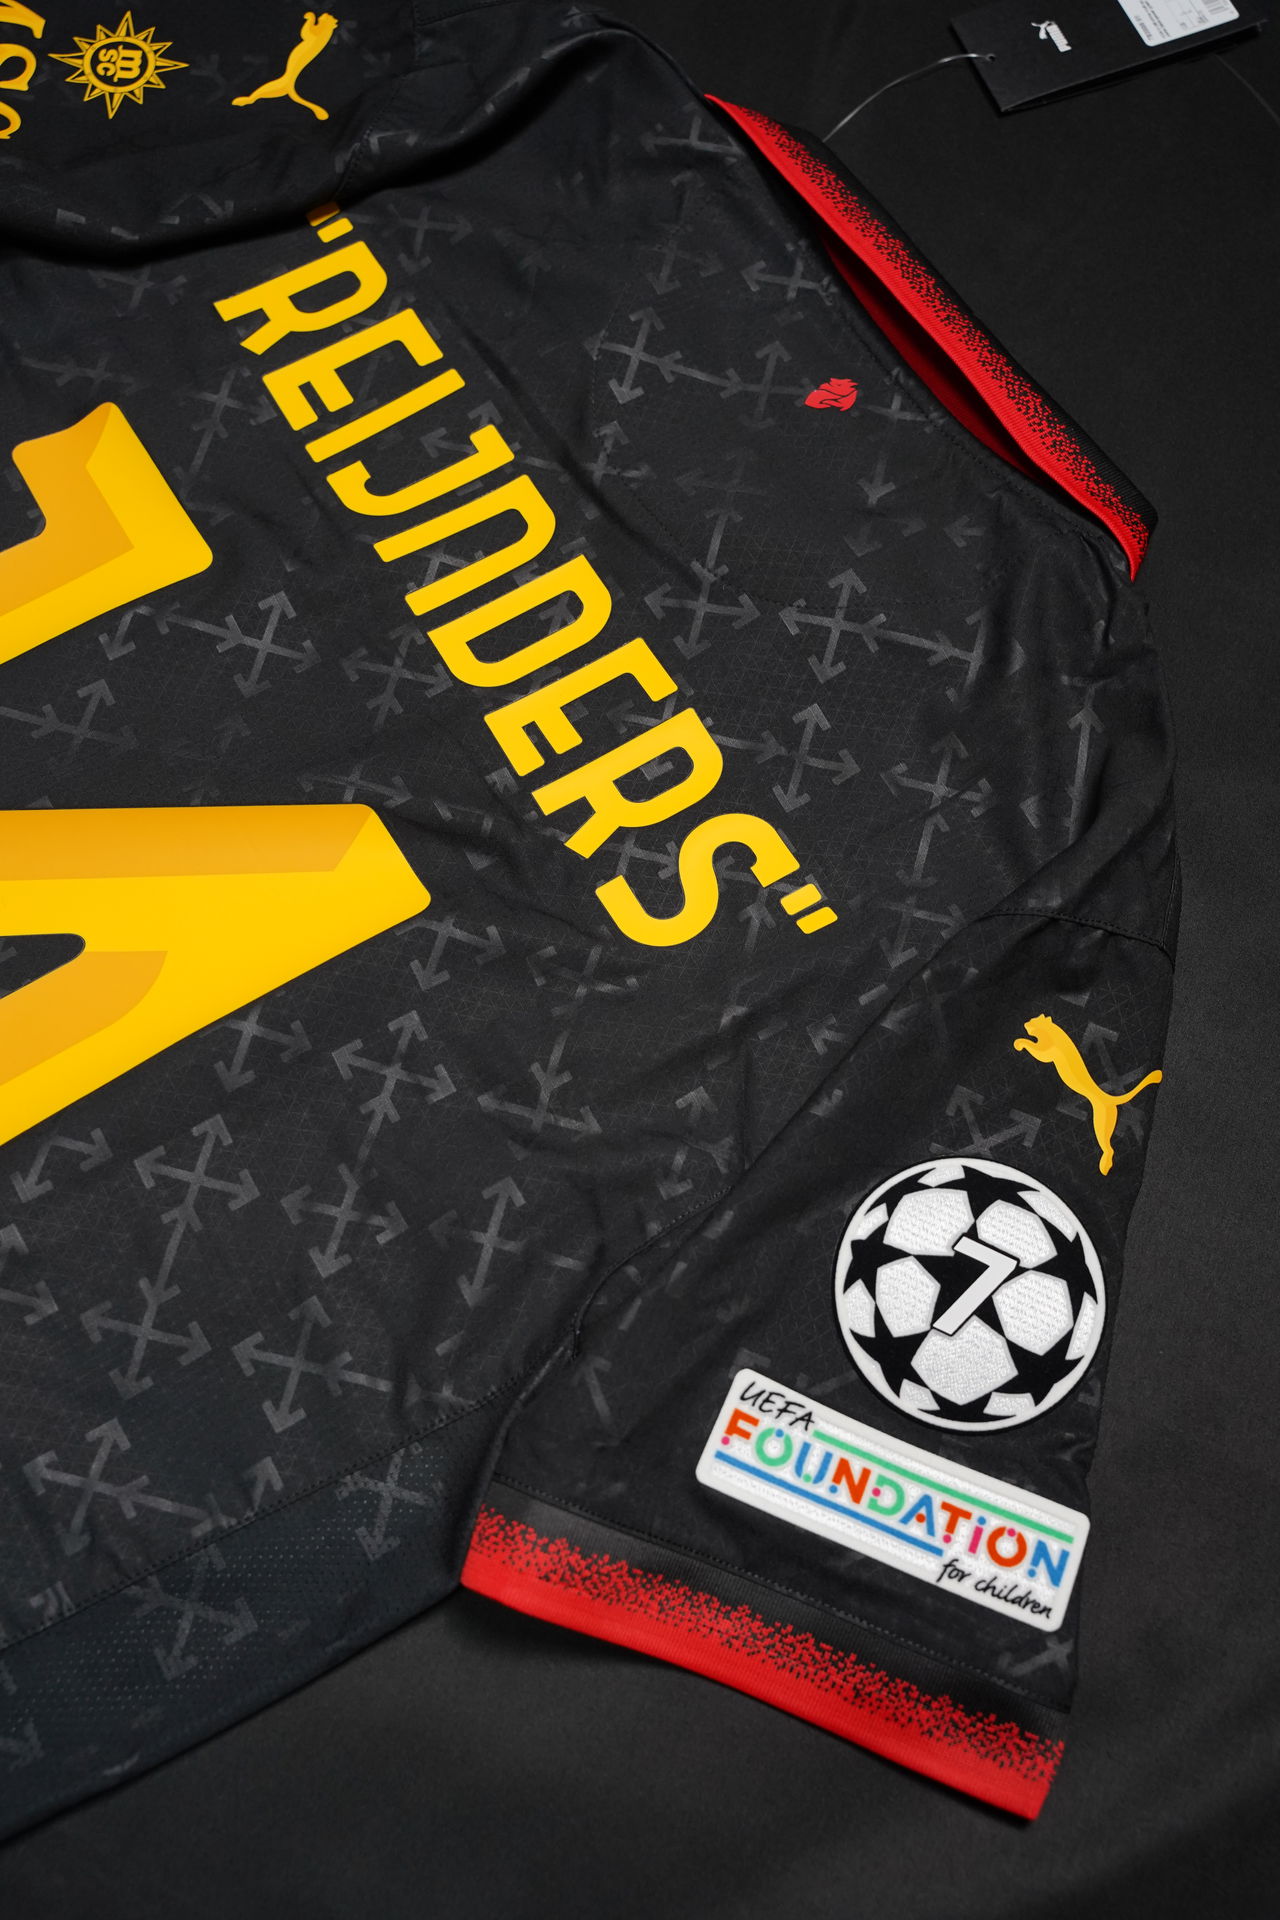
Most importantly, make sure your name set comes with a blocker layer. This is crucial for preventing color bleeding — especially with shirts that have multiple colors (for example, the FC Barcelona 2017/18 Home Shirt). Without a blocker, the ink from the shirt can migrate into the name set and ruin the design.
A name set with blocker layer, recognized by the black color on the back.
Step 3: Follow the Correct Temperature and Pressure Settings
Every name set material comes with specific temperature and pressure guidelines. Failing to follow them can result in:
Poor adhesion
Cracking or peeling
Colors not appearing correctly
Always check the application guide provided by your name set manufacturer or supplier.
Typical guidelines for plastisol name sets might be:
Temperature: around 140–160°C
Time: 10–15 seconds
Pressure: medium to firm
Incorrect pressure or temperature is one of the most common reasons why home-pressed name sets fail.
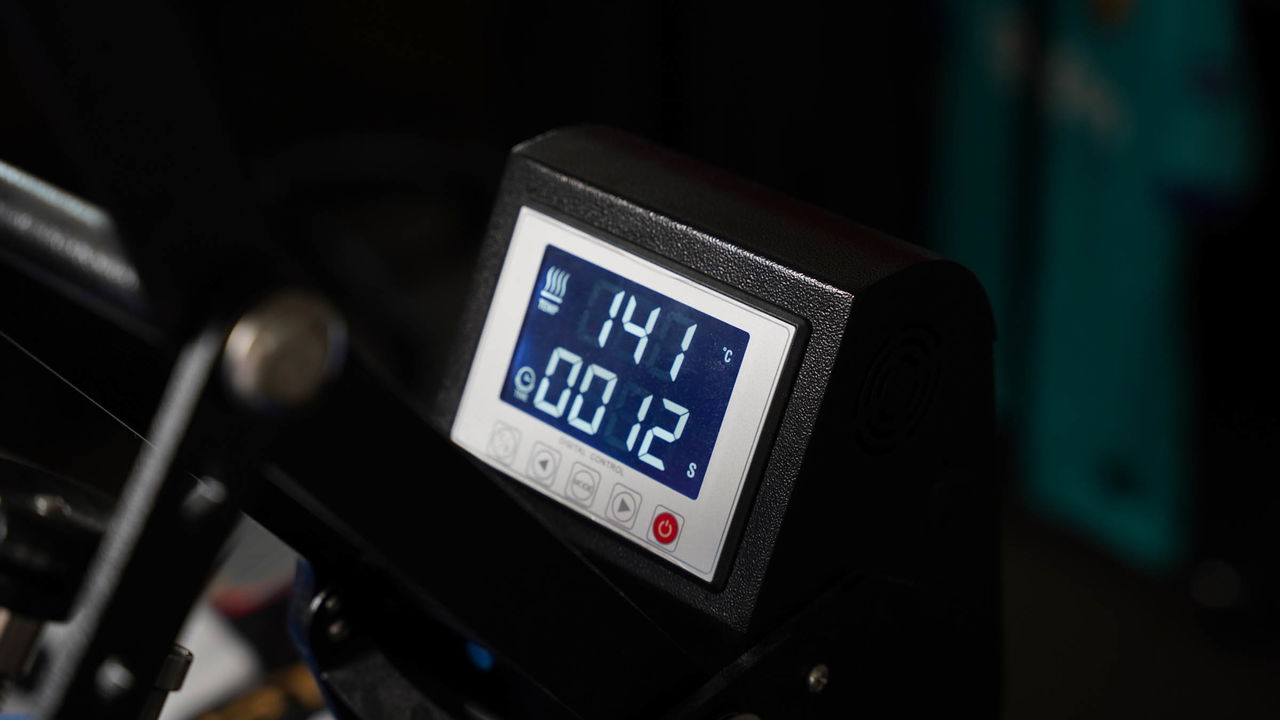
Settings on a professional heat press when pressing a plastisol name set.
Step 4: Align the Name Set Correctly
Alignment is critical to achieving a professional result:
Use a measuring tape to ensure the name and number are centered and straight.
Double-check alignment before pressing — once it’s on, it’s permanent.
If you want to match official club standards, follow the application guidelines from name set manufacturers such as:
Sporting ID
Avery Dennison
Monblason
These guides often provide precise measurements, such as:
Distance between name and number
Distance from collar to name
Correct spacing between digits
Following these guidelines ensures your shirt looks just like the ones worn by the players.
Step 5: Peel Carefully and Finish
After pressing, it’s very important to follow the correct peel instructions for your name set:
Some name sets require a hot peel (remove backing immediately).
Others require a cold peel (allow to cool fully before peeling).
Peeling incorrectly can cause the name set to lift or distort. Once peeled, you may also do a final short press (2–3 seconds) with baking paper to help set the name set perfectly.
Additional Tips for Professional Results
Test press an old shirt or scrap material if you’re new to heat pressing.
Make sure your shirt is clean and lint-free before pressing.
Pre-press the shirt for 2–3 seconds before applying the name set to remove any moisture.
Always use official or high-quality third-party name sets to avoid fading, cracking, or poor adhesion.
Final Thoughts
Applying a name set to a football shirt is not difficult — but doing it professionally requires the right equipment, materials, and careful technique. By using a professional heat press, selecting high-quality plastisol name sets with blocker, following correct temperature and pressure settings, aligning carefully, and peeling correctly, you can achieve results that look exactly like the match-worn shirts you see on the pitch.
Whether you’re customizing a new shirt, restoring a vintage one, or starting a small printing business, this process ensures your football shirts will stand the test of time.